Do you know Okonomi-yaki?
Okonomi-yaki is a kind of Japanese grilled dish cooked on a hot plate.
Freshly cooked Okonomi-yaki with juicy sweet sauce and mayonnaise makes you smile. It’s a perfect dish for a home party. Let’s enjoy cooking with your family and friends!
The main ingredients for Okonomi-yaki are cabbage, eggs, and flour. Since “Okonomi” means “what you like” and “yaki” means “grill,” you don’t have to prepare any particular ingredients except the basic ones. You can try various things that you like in the fridge!
Since okonomiyaki has long been a favorite dish in Japan, the ingredients and recipes are varied depending on the region or the home. Basically, there are roughly two styles of recipes, called “Kansai-fu (Kansai style)” and “Hiroshima-fu (Hiroshima style).”
The unique features of their recipes are that how to use the batter.
“Kansai-fu”: mix the batter and other ingredients and then grill. It is often eaten mainly in the Osaka prefecture and around place.
“Hiroshima-fu”: spread the batter on the frying pan and make it like a crape, then put the ingredients on it and grill. It is eaten mainly in Hiroshima prefecture, as the name suggests.
Today, I would like to introduce a Kansai-style okonomi-yaki receipe that I often make.

みなさん、お好み焼きはお好きですか。
焼き立てのアツアツを食べると、思わず笑顔になりますよね。ホームパーティにもぴったりの一品です。ご家族やお友達と一緒に作ると楽しいですよ。
基本の材料はキャベツと卵、小麦粉です。「お好み」が意味するように、主要な材料以外は特別なものを用意する必要はありません。冷蔵庫の中にあるお好みの材料を色々試してみてください。
お好み焼きは古くから庶民の料理として愛されているので、地域ごとに少しずつ特徴のちがうレシピが沢山あります。基本的には、大きく分けて2種類のレシピ、「関西風」と「広島風」に分けられることが多いです。
関西風は、生地と具材を混ぜ込んでから焼くもので、主に大阪府とその周辺地域でよく食べられています。また広島風は、薄くのばして焼いた生地の上に具材をのせて焼きます。こちらはその名の通り、主に広島県で食べられています。
どちらも特徴があってとても美味しいです。さて、今回はウチでもよく作る関西風のお好み焼きのレシピを紹介します。
Ingredients of Okonomi-yaki お好み焼きの材料
Ingredients (2-3 servings) 材料(2~3人分)
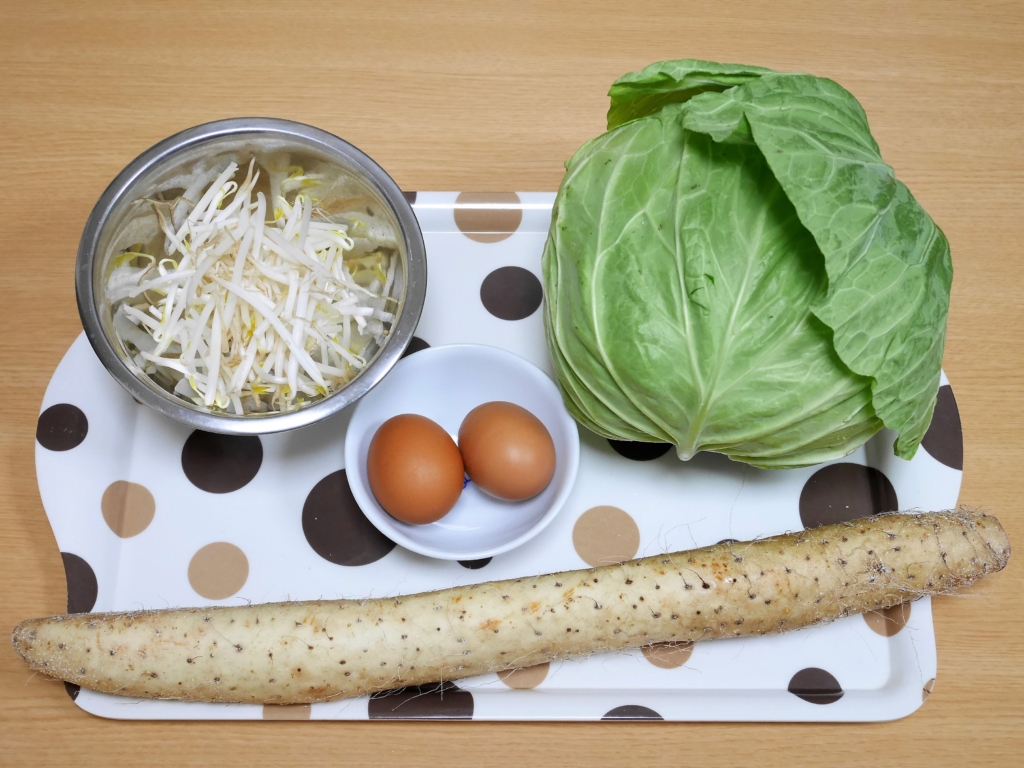
| 200g of cabbage |
| 150g of Chinese yam |
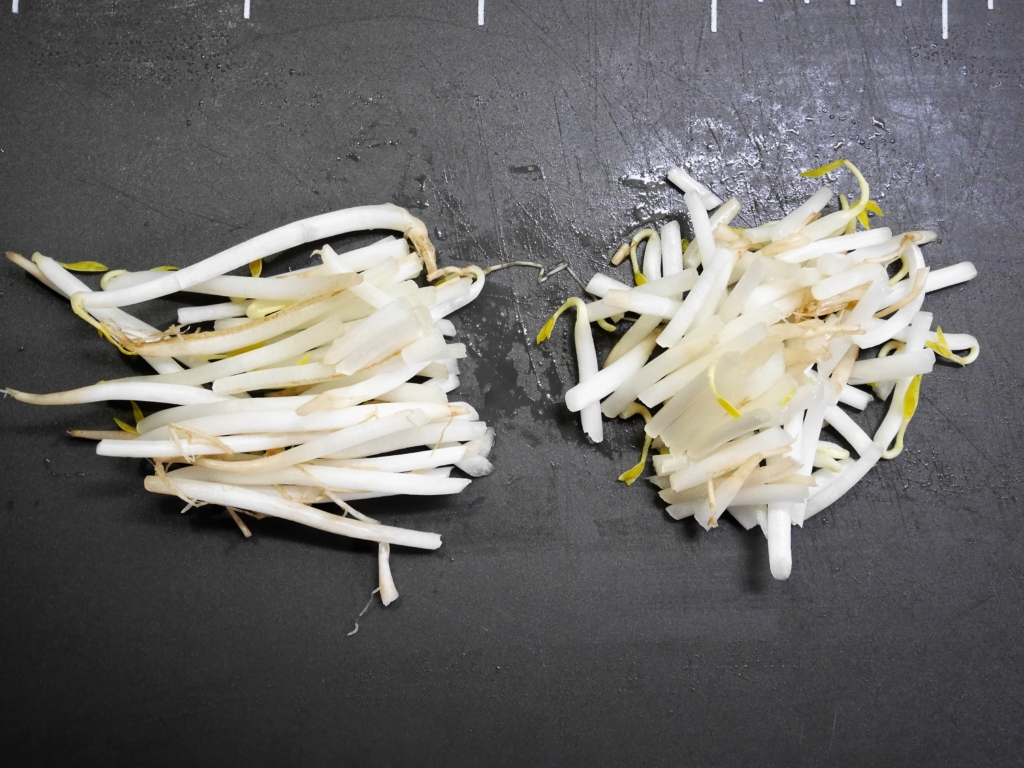
| 50g of bean sprouts |
| Two eggs |
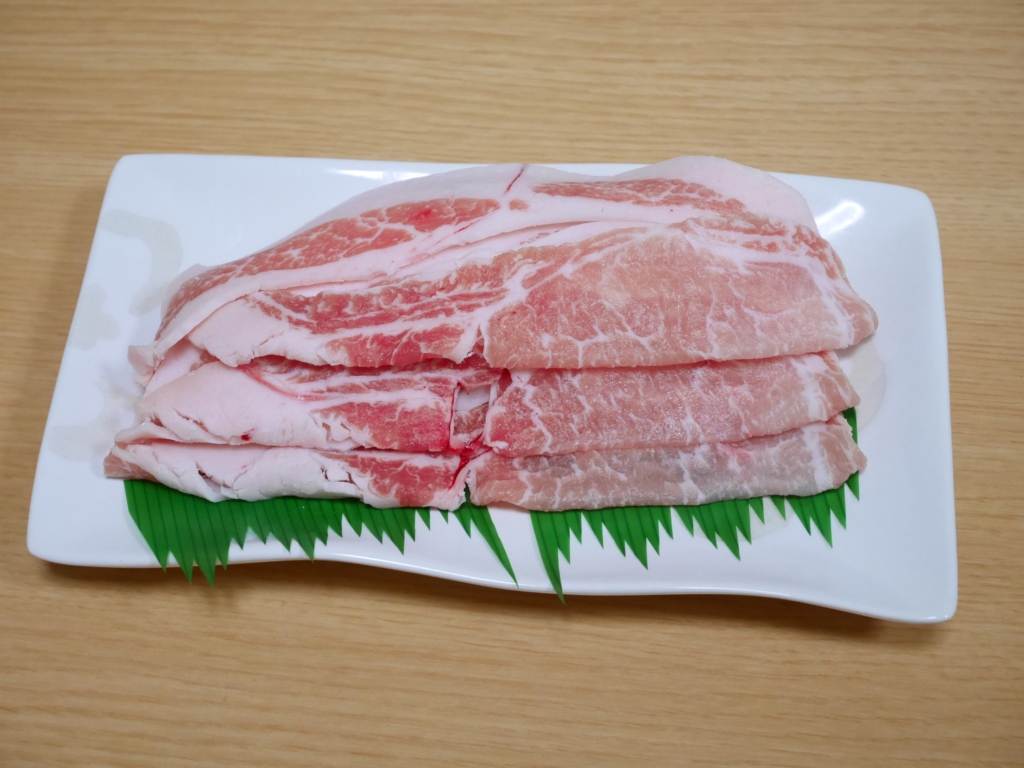
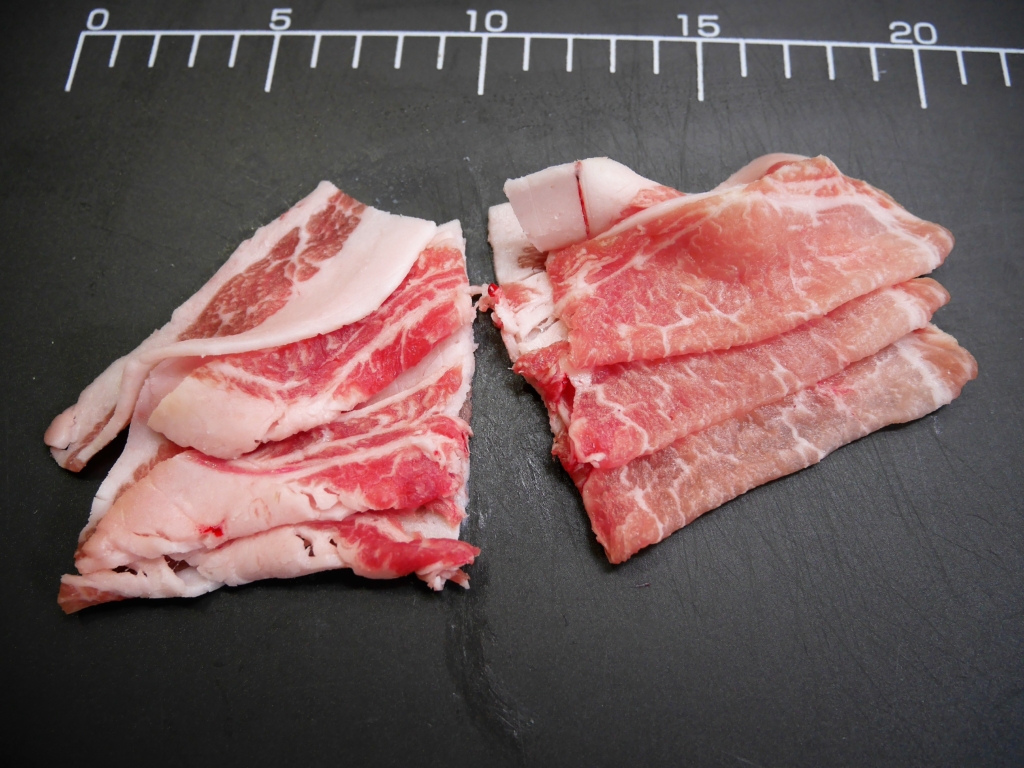
| 100g of Sliced pork back ribs |
| 80g of weak flour |
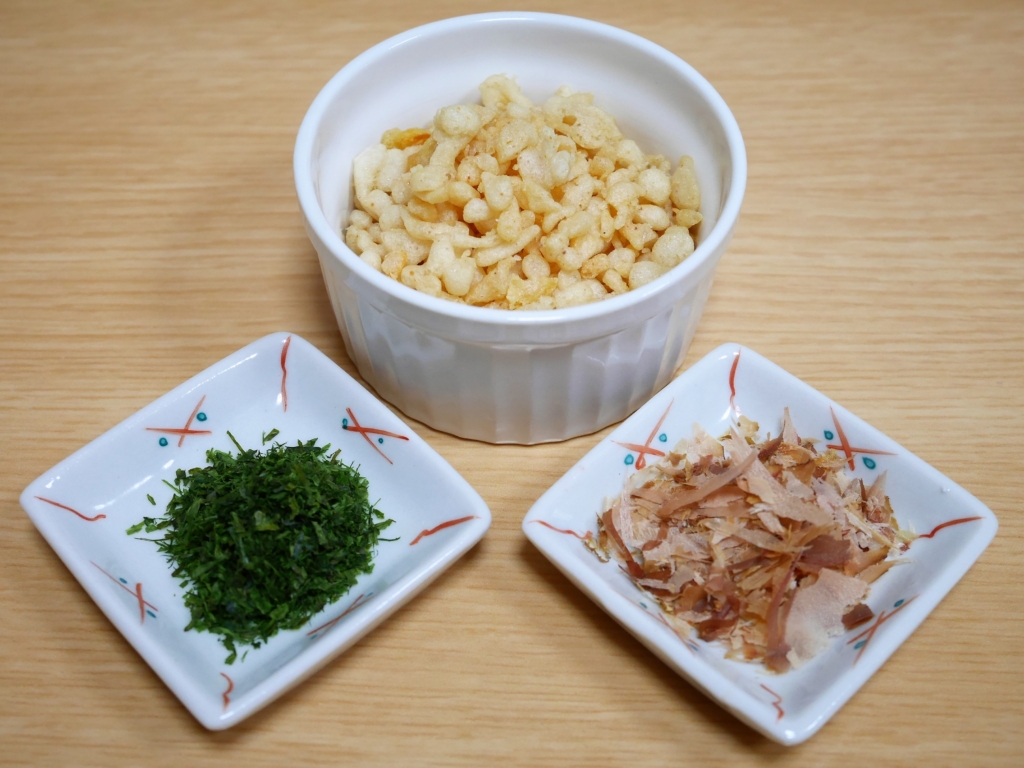
| Three tablespoons of ten-kasu* (*small pieces of deep-fried dough) |
| One teaspoon of instant broth granules (bonito) |
| One teaspoon of vegetable oil |
| キャベツ 200g |
| 長いも 150g |
| もやし 50g |
| 卵 2個 |
| 豚バラ肉 100g |
| 薄力粉 80g |
| 天かす(揚げ玉) 大さじ3 |
| 顆粒だし 小さじ1 |
| サラダ油 適量 |
| Okonomiyaki sauce to taste |
| Mayonnaise to taste |
| Bonito flakes to taste |
| Green nori (seaweed) to taste |
| お好み焼き用ソース 適量 |
| マヨネーズ 適量 |
| 鰹節 適量 |
| 青のり 適量 |
How to cook Okonomi-yaki お好み焼きの作り方
Directions
1Cut the ingredients
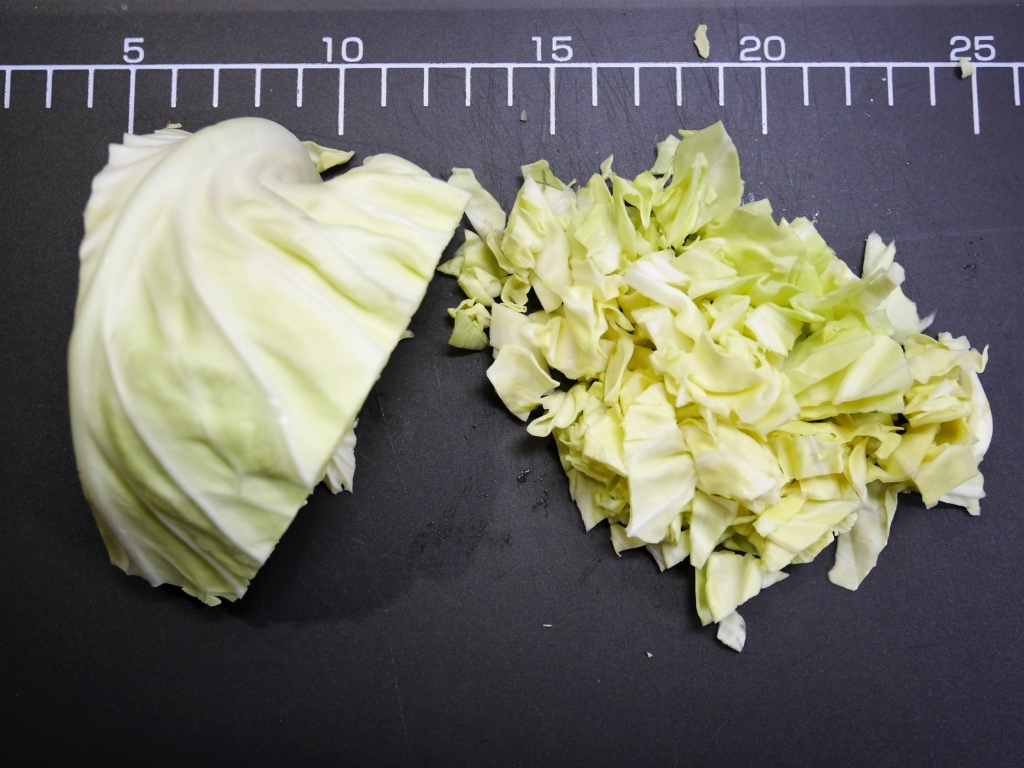
Chop the cabbage coarsely.
Cut the bean sprouts in half.
Cut the sliced pork back ribs into 2 or 3 pieces each.
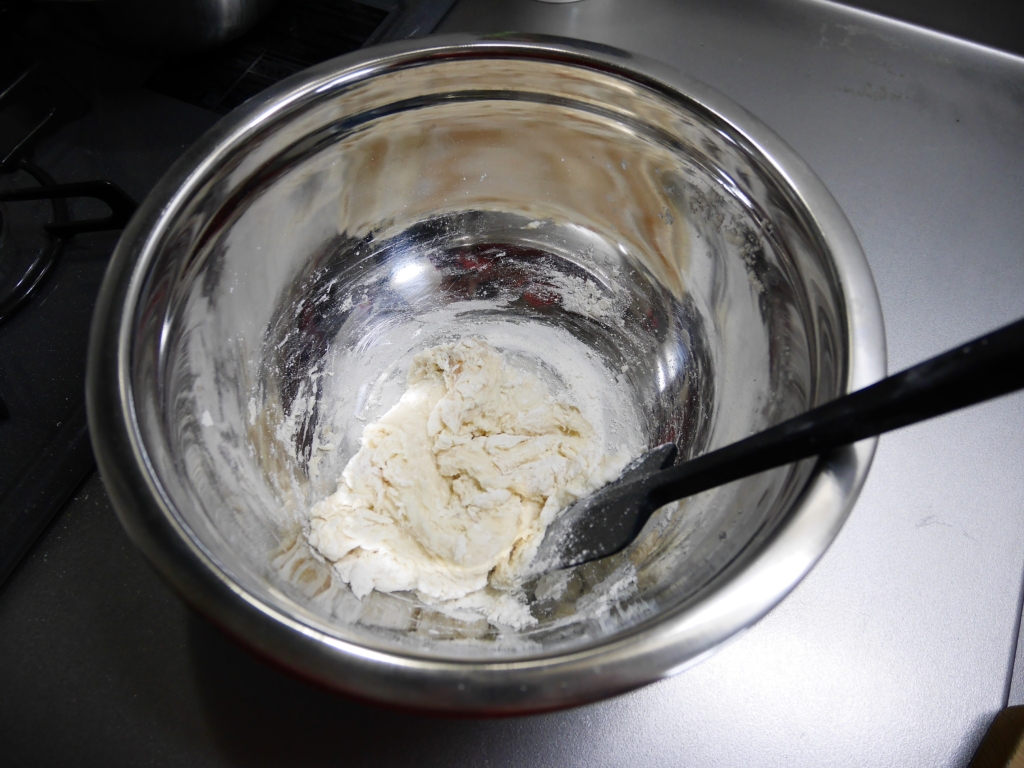
2Make the batter
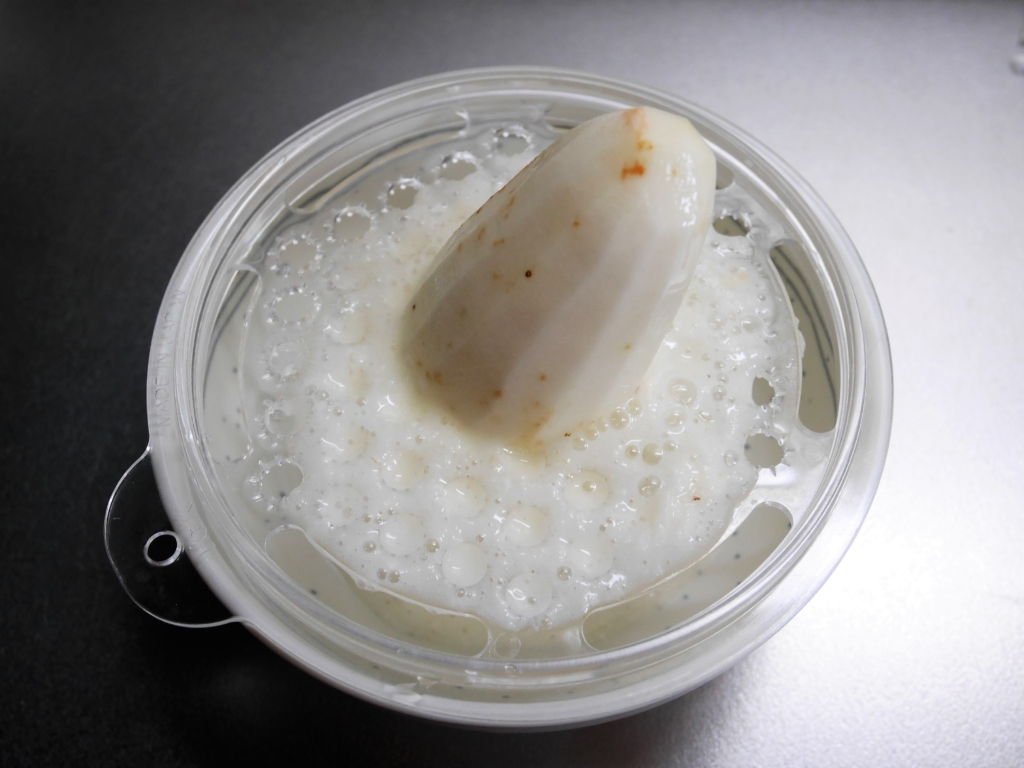
Peel the skin of a Chinese yam and grate it.
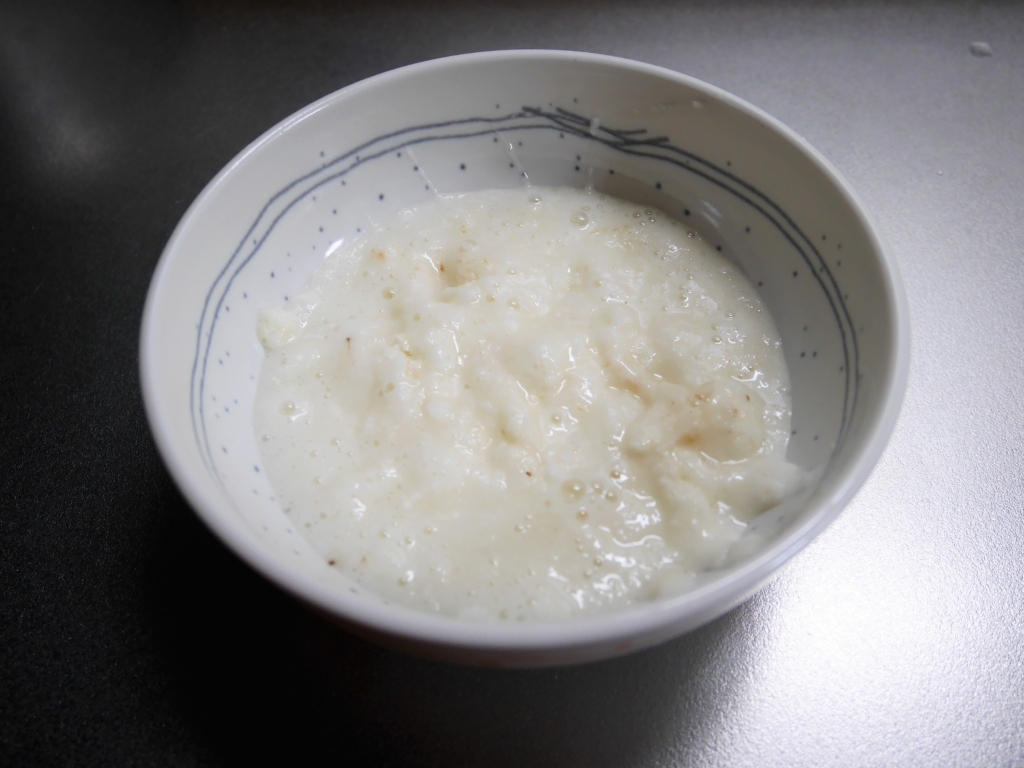
Put the grated Chinese yam, flour, and instant broth granules into a bowl and mix them well.
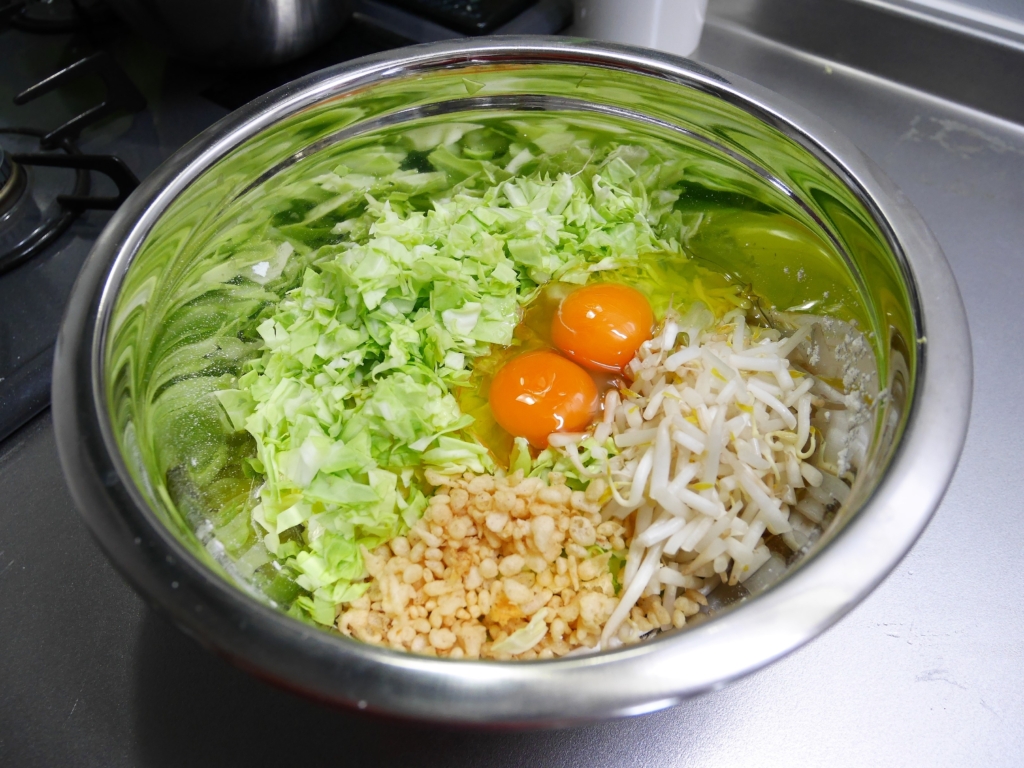
3Mix the ingredients
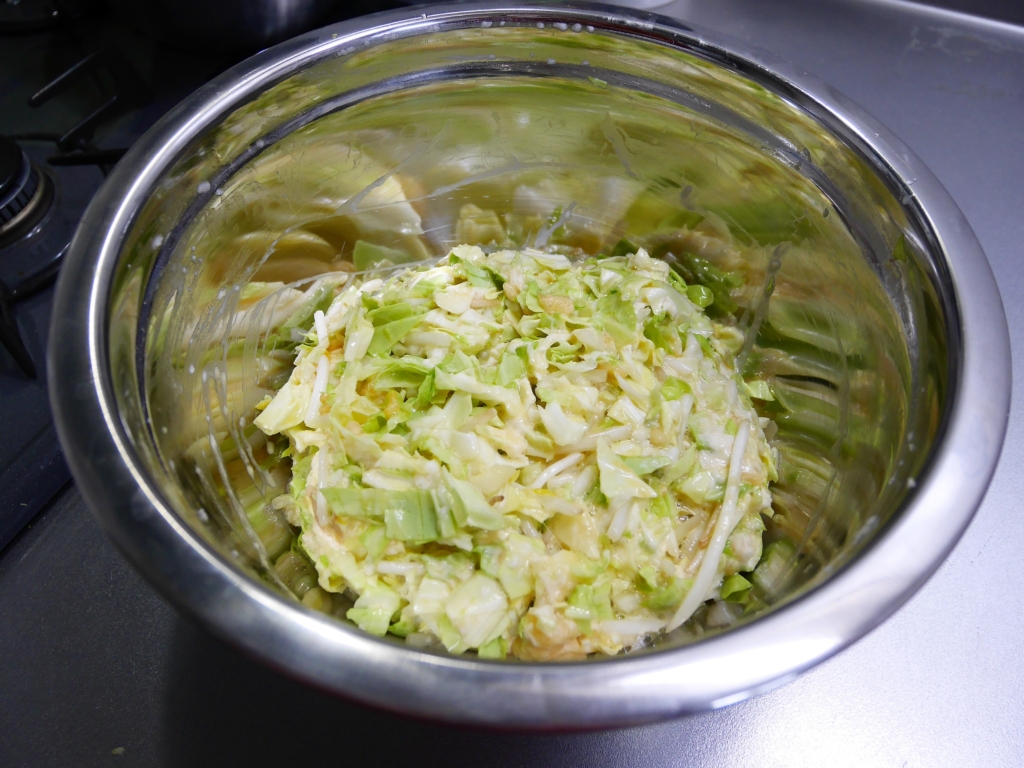
Put the cabbage, bean sprouts, eggs and ten-kasu into the bowl (Step2) and mix them lightly with a spoon.
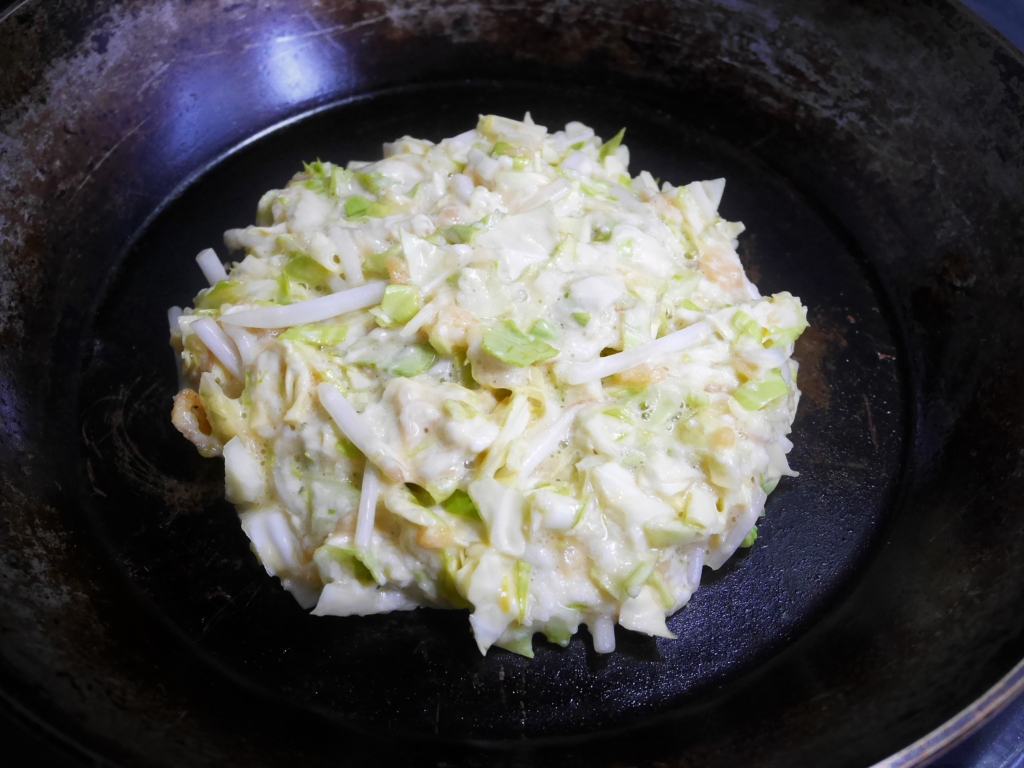
4Grill the batter
Put some oil in the frypan or hotplate (electric griddle) and heat it up to about 220℃.
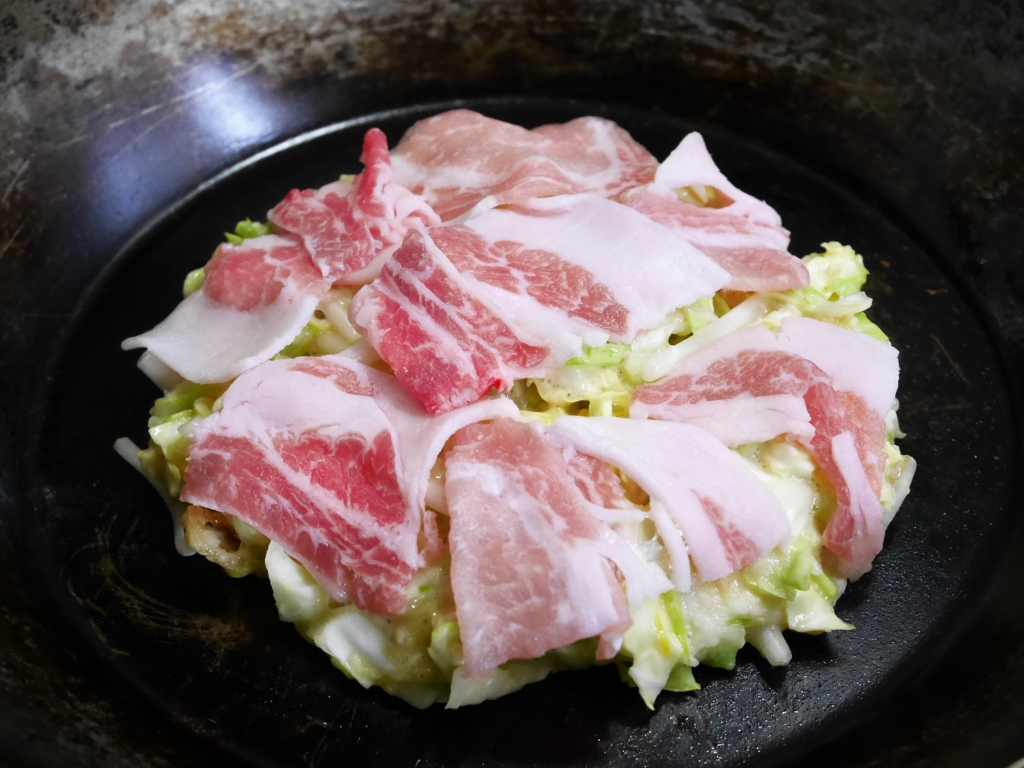
Pour the batter of Okonomi-yaki into the frypan with ladle and spread it into a round shape. (-> like a pancake)
Grill it on medium heat. Then, put the sliced pork on the surface.
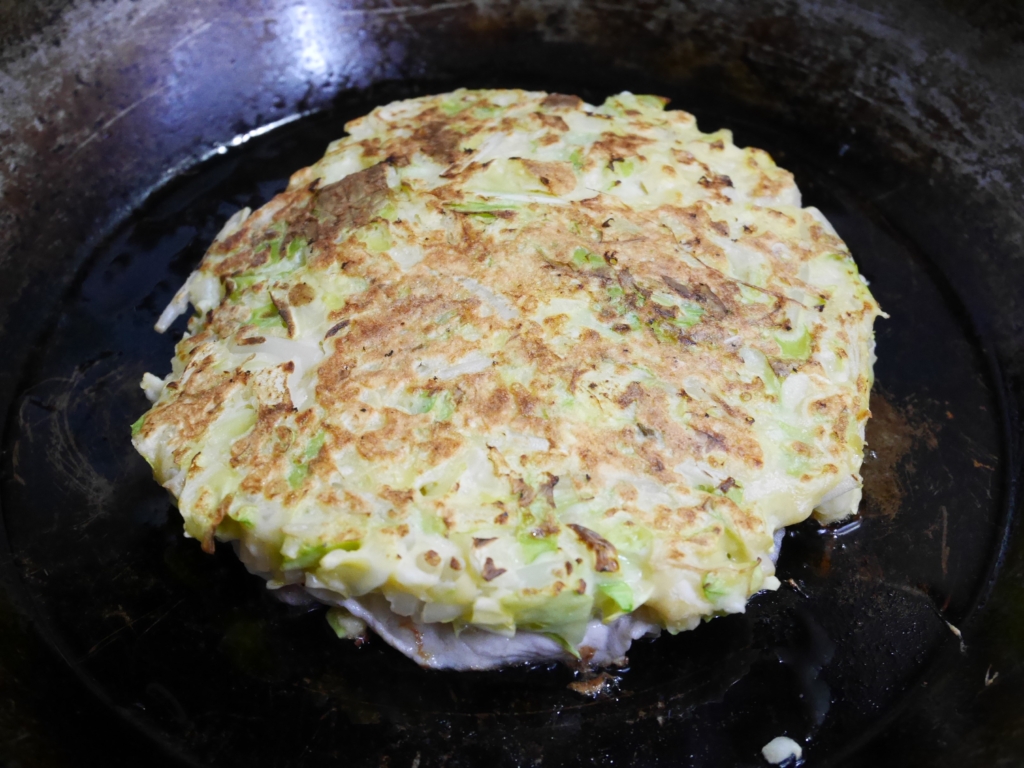
When browned, turn over and cook slowly over low heat.
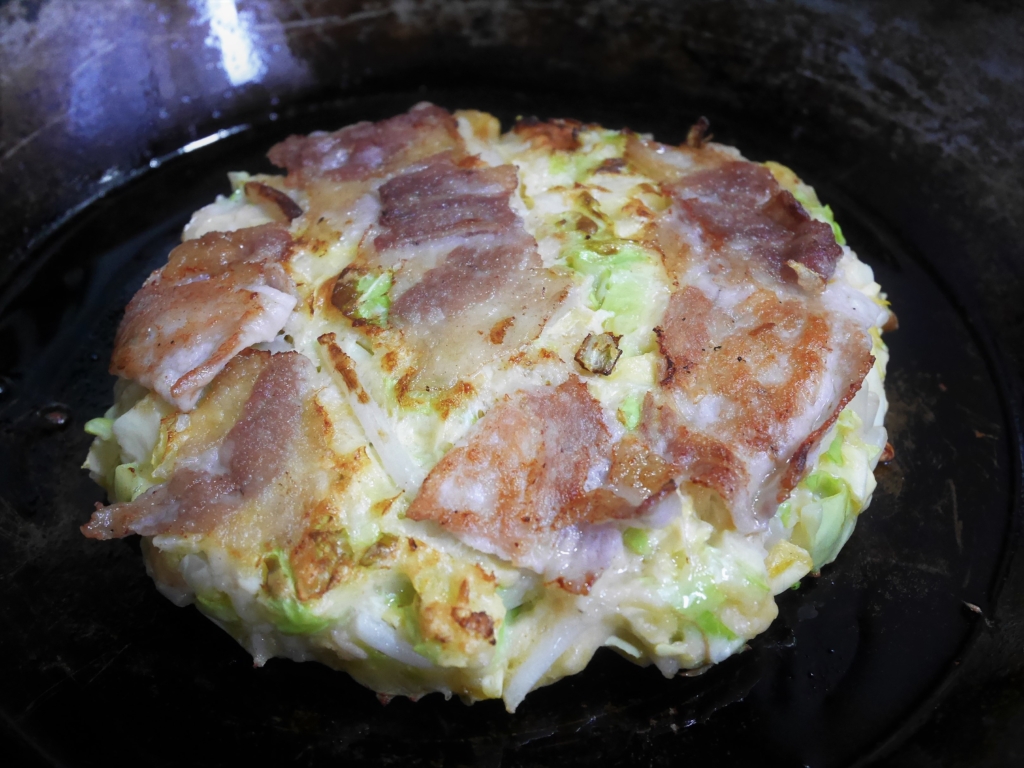
And when the sliced pork turns crispy, flip it again.
Grill both side on medium heat until it gets golden brown.
5Serve on the plate
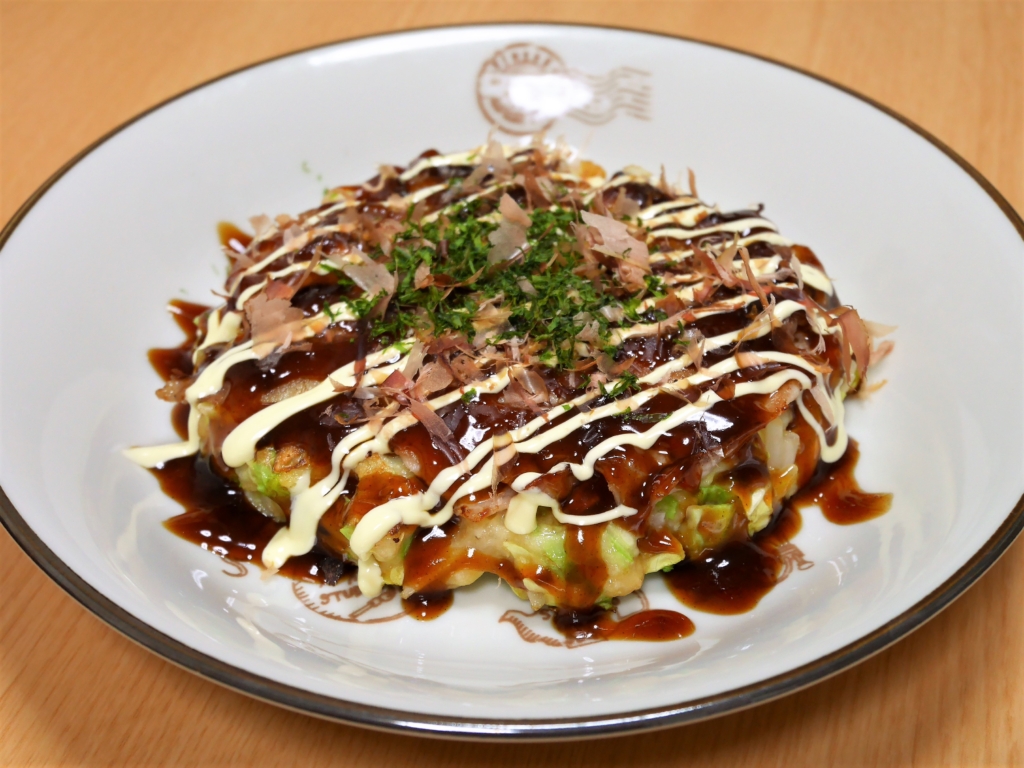
Serve Okonomi-yaki on the plate and put some sauce on it.
You can add some mayonnaise, sprinkle some bonito flakes and green nori to dress it up.
Cooking Tips
- Be careful when peeling and grating yams, as they are very slippery. Also, wash off the juice of the yam as soon as possible, as it will itch if left on the skin.
- When making the dough, mix the flour and granulated dashi well before adding the yam. If you add the yam first, the granulated dashi will clump together and not mix well.
- After step 3, the water and flour will separate over time. Just before baking, mix lightly for the second time from the bottom of the bowl to make it fluffy and delicious.
- Leftover okonomiyaki can be frozen. Wrap each piece individually in plastic wrap, remove air and place in a freezer bag. It can be stored for about one month.
- To eat, heat in a microwave oven and defrost. After that, it is recommended to lightly grill Okonomi-yaki in a frying pan to crisp the surface.
218kcal per 100g https://calorie.slism.jp/
作り方(日本語)
1材料を切る
- キャベツを粗みじん切りにする。
- もやしを半分、豚バラ肉は2、3等分に切る。
2生地を作る
- 長いもの皮をむき、すりおろす。
- 薄力粉、顆粒だしと長いもをボールに入れて、よく混ぜる。
3材料を混ぜ合わせる
- 2の中に、キャベツ、もやし、卵、天かすを加えてスプーン等で軽く混ぜる。
4生地を焼く
- フライパンまたはホットプレートを温めて、油をひく。(220℃くらい)
- 生地を丸く広げ、豚肉をのせて中火で焼く。
- 焼き目が付いてきたら、裏返して弱火でじっくりと焼く。
- 豚肉がカリッとしてきたら、もう一度裏返し、中火で両面をこんがりとさせる。
5仕上げ
- お皿に盛りつけ、仕上げにソースをかける。
- お好みでマヨネーズ、青のり、鰹節をかけたら、できあがり。
(写真は英語の作り方の部分を参照ください)
調理のコツ&ポイント
- 長芋の皮をむいたり、すりおろしたりするときは、とても滑りやすいので注意しましょう。また、長芋の汁が皮膚に付いたままだと痒くなりますので、できるだけ早く洗い流してください。
- 生地を作るときは、薄力粉と顆粒だしをよく混ぜてから長芋を加えます。先に長芋を入れると、顆粒だしが固まりになって上手く混ざりません。
- 手順3の後、時間が経つと水分と粉が分離してきます。焼く直前にもう一度ボウルの底の方から軽く混ぜるとふっくらと美味しく焼けます。
- 残ったお好み焼きは、冷凍保存ができます。1枚ずつラップで包み、空気を抜いてフリーザバッグに入れてください。約1か月保存可能です。
- 食べるときには、電子レンジで加熱し解凍します。その後、フライパンで軽く焼いて表面をカリっとさせるのもおすすめです。
100gあたり218kcal https://calorie.slism.jp/
※2017年10月の記事を加筆修正し、写真を増やしました。


